

How To Create Asp Net Project
In this article, we will see how to create an empty ASP.NET Web Application with .NET CLI and Visual Studio Code. In the previous article of this series, we already covered the below articles:
- Create your first application with ASP.NET Core 3.1
- Project Structure in ASP.NET Core 3.1 Web Application
I recommend you to go through these articles first if you are new to this series or new to .NET Core technology.

Setting Up
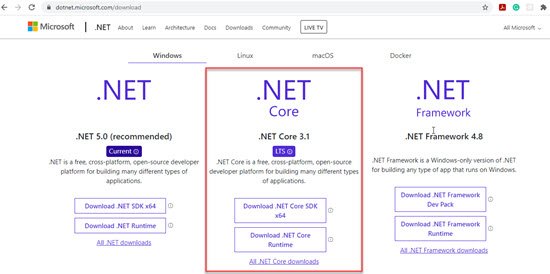
In order to create the .NET Core application, we must have .NET Core SDK installed in the system. (In this example, I am using .NET Core 3.1). Go to the Microsoft official website in order to download the .NET Core SDK.
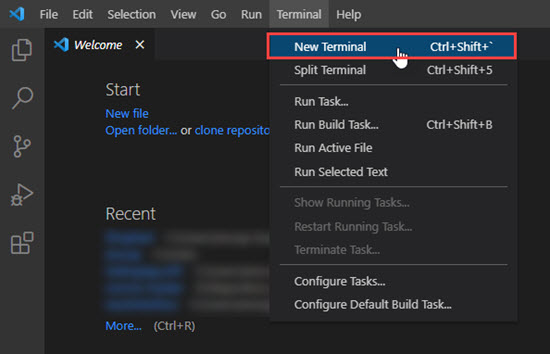
Once SDK is installed, Open Visual Studio Code Editor. If you don't have it already installed in your system, then go to the Microsoft official site in order to download it free of cost. Once downloaded and installed, Go to the Terminal menu, click on New Terminal.
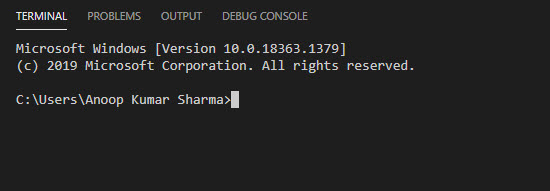
You will see the terminal as shown in the below image.
Getting Started
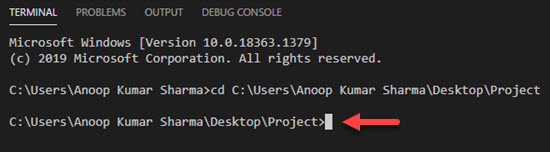
Change the directory to the location where you want to create your first ASP.NET Core Web Application with .NET CLI. In my case, I already created a folder on the desktop (and named it Project).
Run the dotnet command in the terminal. If .NET Core is already installed in your system, then you will see the options as shown in the below image:
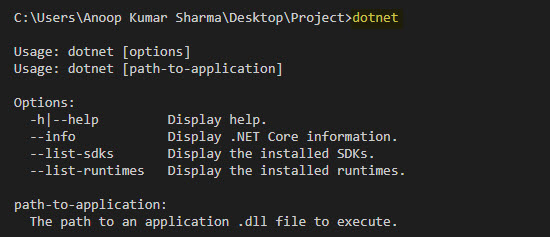
Run the dotnet --version command in order to check the version of .NET Core SDK installed in your system. In my system, I have .NET Core 3.1.402 Version.

You can use --help in order to check the options and commands in case of any help required. Use the dotnet new command in order to create a new project and pass the short name for the type of project/solution you want to create. You can use the --help in order to see the available projects as well as options related to .Net Core CLI.

As you can see, we can create several kinds of projects through .NET Core CLI. In this example, I am going to create an ASP.NET Core Empty project.
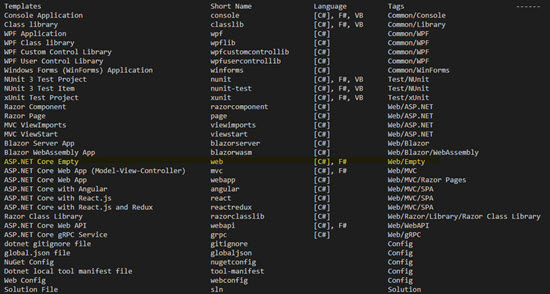
Run dotnet new web --name <NAME_OF_PROJECT> in order to create an empty ASP.NET Core web application. On executing the command, the ASP.NET Core Empty template will be created followed by the dotnet restore command.

Now change the directory to the project location. In my case, I have created a project, i.e., AspNetCoreEmptyWebApp so I am changing the directory through the terminal to that folder as it contains the .csproj file which is required to run the .NET Core project through the CLI. Once the directory is changed, run dotnet run command in the terminal in order to launch the web application.
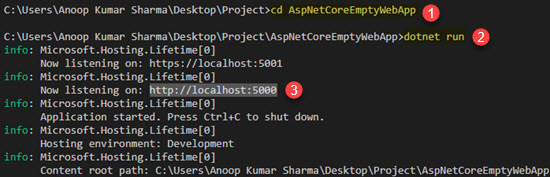
Once the application is launched successfully, copy or click on the URL on which your application is running. You can see Hello World! on the screen which is basically coming from the startup.cs class.

Visual Studio
Now let's open that project into Visual Studio Code. We can directly open the folder through the File menu and clicking on the open folder menu option or by running code .in the terminal as shown in the below image.

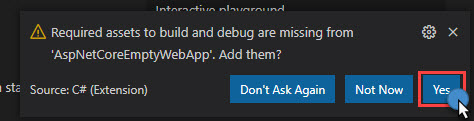
On opening the project for the first time, A message is prompted to add the required assets to build and debug the application. Click on Yes. Upon clicking on Yes, a folder, i.e., .vscode will be created in the project.
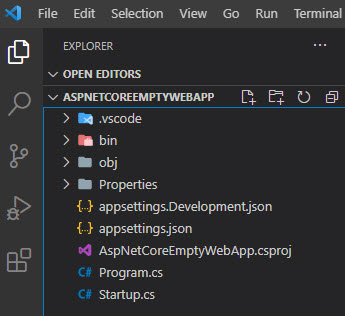
You can see that our ASP.NET Core project is opened in the Visual Studio Code editor with the structure as shown in the below image. (Please check Project Structure in ASP.NET Core 3.1 Web Application in case you want to understand the project as well as files structure and its role.)
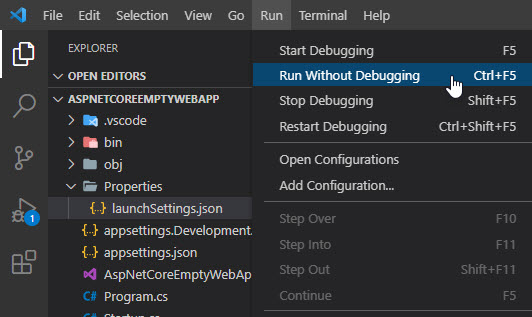
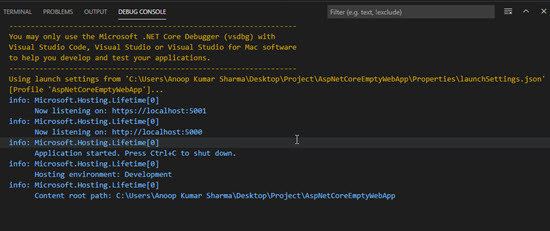
Now, go to the Run menu, click on Run without debugging in order to run the application without debugging it. In a few seconds application is launched with the ports specified in the launchsettings.json file.
Debugging
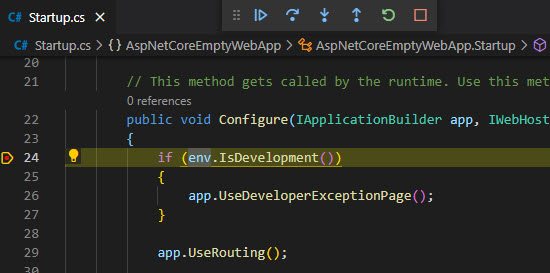
In case you want to debug the application, add a breakpoint where you want to test and debug the application.
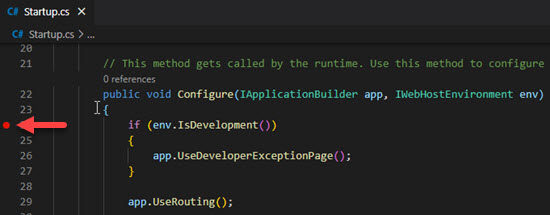
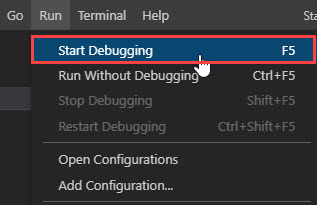
And then go to the Run menu and then click on the Start Debugging option. Once the application reached the breakpoint, it will be highlighted (in a similar manner as in Visual Studio IDE). You can do step in, step out, add items to the watch window, etc.
Conclusion
I hope this article will help you in getting started with creating and managing the ASP.NET Core web application with .NET CLI and launching and debugging it through Visual Studio Code.
Topics:
asp.net core, visual studio code
How To Create Asp Net Project
Source: https://dzone.com/articles/create-aspnet-core-web-application-with-visual-stu
Posted by: epleymisibromes.blogspot.com
0 Response to "How To Create Asp Net Project"
Post a Comment