

How To Create Digital Backdrops
Choosing the right background is important if you want to make a great portrait.
But what if you don't have access to a photo studio and a background?
Don't worry, I'll show you how to create a digital background in Photoshop.


How to Create a Digital background in Photoshop
Many professional portrait photographers use an expensive muslin backdrop. A less costly solution is to buy a digital file but then the quality might be a problem.
The cheapest and best solution, is to create your own digital background in Photoshop. Here we go.
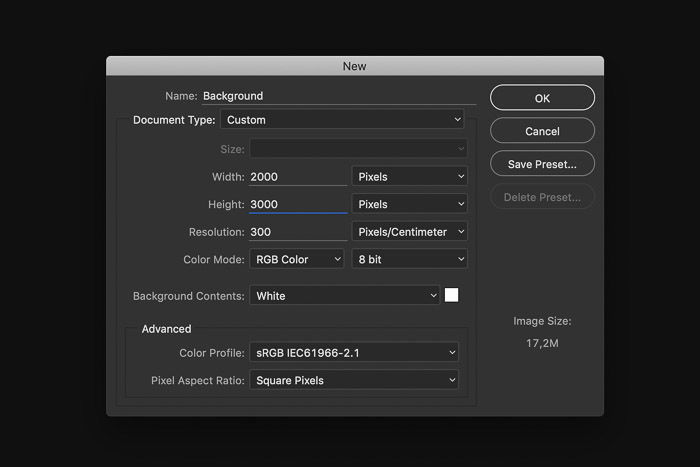
Step 1: Open a New File
Go to file and select 'New…'. A new window will open.
Name your file and set it to 3000 pixels high and 2000 pixels wide. Switch it if you want landscape orientation.
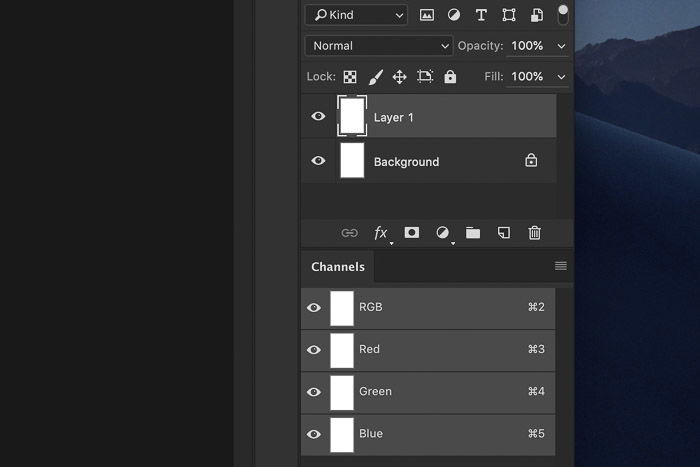
Step 2: Duplicate Background
Use shortcut Cmd + J (Ctrl + J for Windows) to make a copy of the background layer.
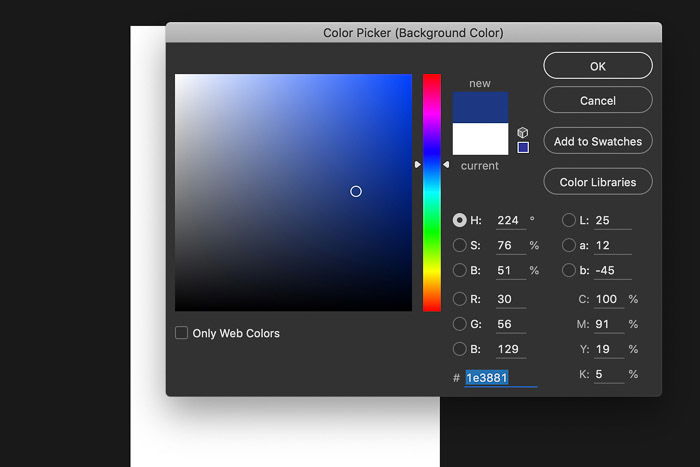
Step 3: Set the Foreground Colour
Click on the foreground colour square located in the tool bar.
The colour is usually set to black but it can appear in any colour depending on the last settings.

The Colour Picker window will open. For this example, pick a medium dark blue and click OK.
Step 4: Set the Background Colour
Click on the background colour square (usually the white one).
Now pick a darker shade of the colour you've picked before.
Step 5: Add Clouds
Go to Filter > Render and select 'Clouds'. A textured backdrop will instantly appear.

It looks great already but we need to add the finishing touches.
Step 6: Add light to the Background
A lot of times, portrait photographers will put a light on the background to make the subject stand out.
It creates a more intimate look and feel. Here's an example of such a studio shot.

Go to Filter > Render and select 'Lighting Effects…'.
In the Lighting Effects window, select the type of light you want to use. Open the drop down menu and select 'Point'.
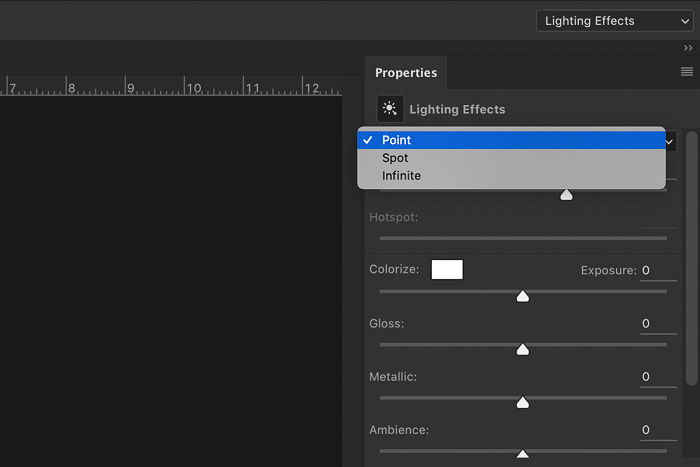
Now, adjust the position and intensity of the light. Click in the white centre circle and drag to any location.
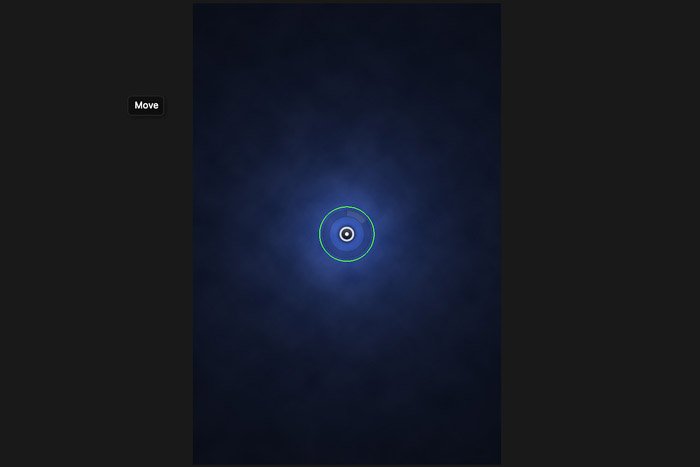
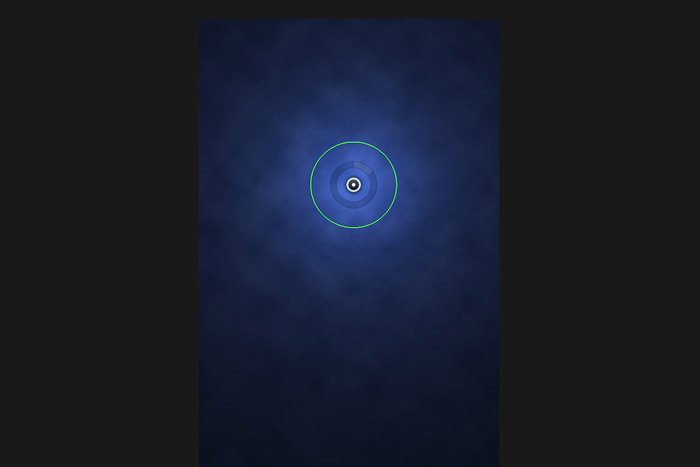
To make the lit area larger, click on the green ring and drag it outwards.
To intensify the light, click on the opaque ring and drag it clockwise.
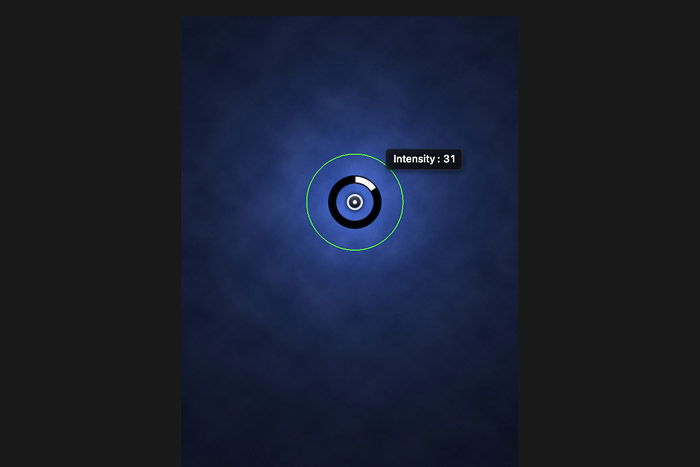
Click 'OK' when you're ready.
Step 7: Change the Colour of the Digital Background
If you want to change the colour of the background, you can start over but you don't have to.
You can change the colour of the background with an adjustment layer.
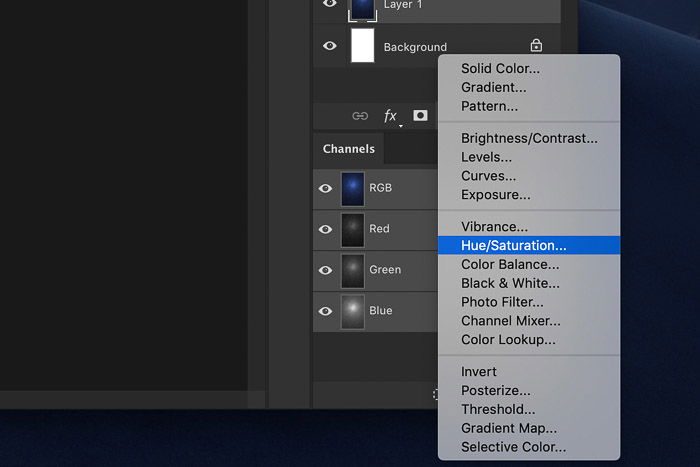
Click on the 'Create new fill or adjustment layer' icon.
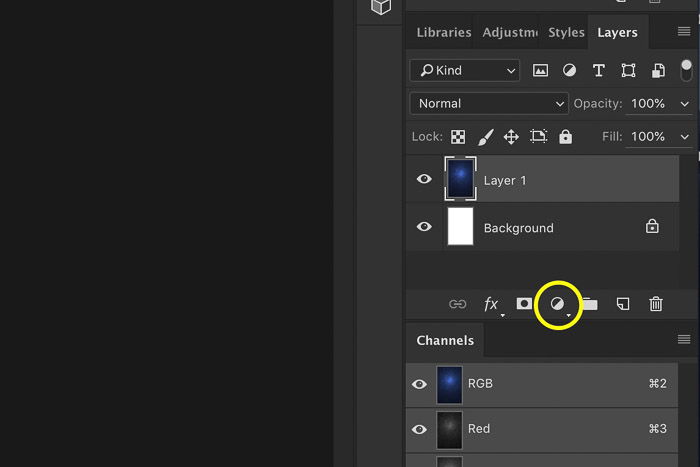
Select 'Hue/Saturation' from the dropdown menu.
Drag the Hue slider to the left or right to change the colour of the digital background.
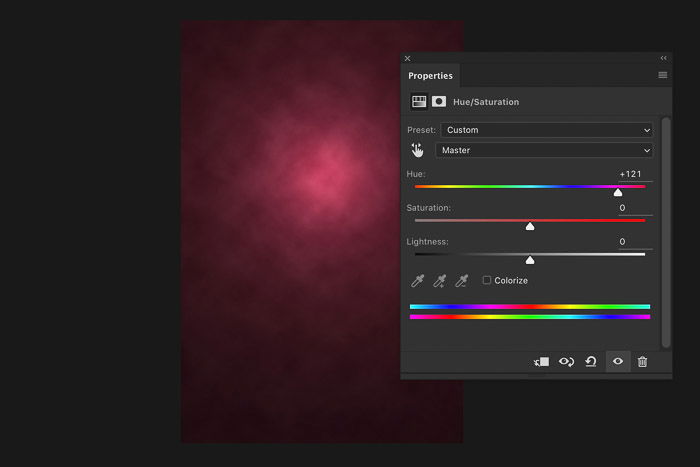
Use the other sliders to change the saturation and lightness.
This only works to change the colour of the background. If you want to change the combination of colours, you'll have to start from the beginning.
Conclusion
You're all set to make your own digital background and now, it's time to use them.
First, photograph your subject against an even coloured wall or anything else you have available.
Then, learn how to cut out the subject by using layer masks and the Refine Edge tool. And finally, drop the subject onto your own digital background.
Why not check out our post on how to replace a face in Photoshop next?
How To Create Digital Backdrops
Source: https://expertphotography.com/digital-background-photoshop/
Posted by: epleymisibromes.blogspot.com
0 Response to "How To Create Digital Backdrops"
Post a Comment