

How To Create Web Application In Eclipse Juno
- Details
- Written by
- Last Updated on 07 August 2019 | Print Email
This tutorial presents a step-by-step guide about how to install Maven plugin (m2e) for an existing Eclipse version (Juno 4.2 and older).
NOTES: Eclipse Kepler (4.3) and newer versions already have Maven integration so you don't need to install the plug-in for this version of Eclipse.
The most popular Maven plug-in for Eclipse Java EE IDE is called Maven Integration for WTP (m2e-wtp). Installing this plug-in is easy and would take only around 5-10 minutes. Follow the steps described below:
-
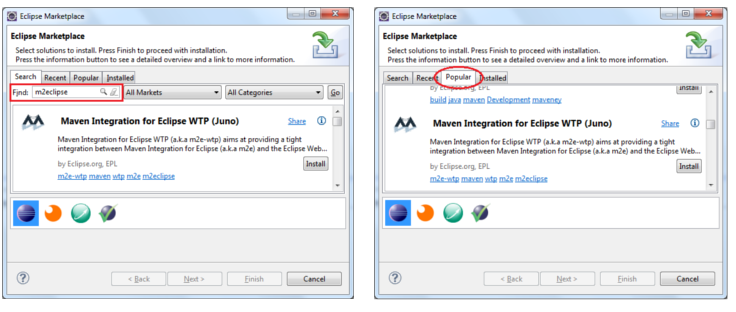
- In Eclipse IDE, click Help > Eclipse Marketplace… to open up the Eclipse Marketplace dialog. To search for the Maven plug-in, type m2eclipse or m2e-wtp in the Find text box and hit Enter (or switch to Popular tab), you will see Maven Integration for Eclipse WTP (Juno)in the search result as follows:
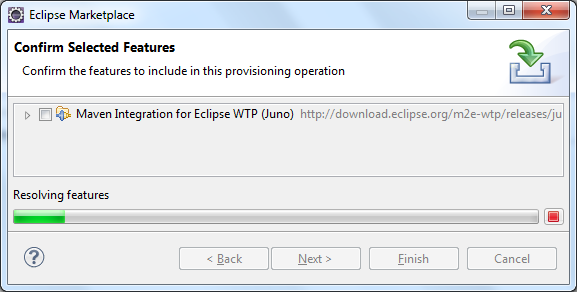
- Click Install button on the right. It may take a while for Eclipse to resolve the required features:
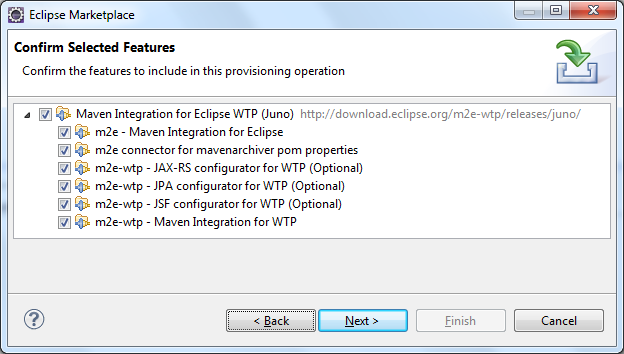
- Then Eclipse will ask to confirm the selected features:
- Click Next will bring the Review Licenses screen:
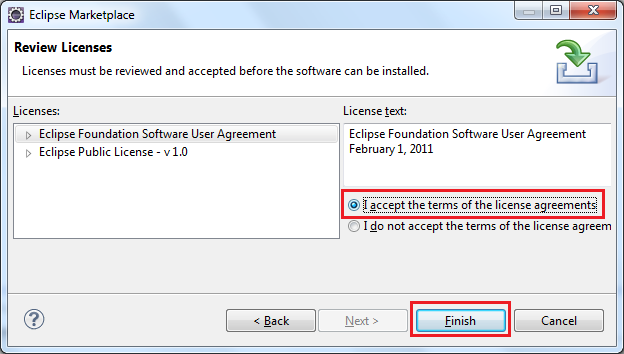
- Select "I accept the terms of the license agreements", and then click Finish, Eclipse will download in install the plug-in:
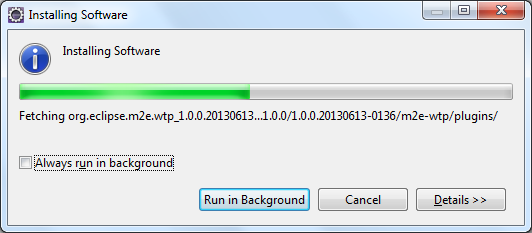
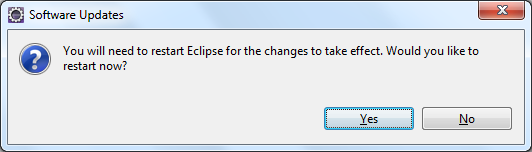
- This may take few minutes, and after finishing the installation, Eclipse will ask to restart the IDE:
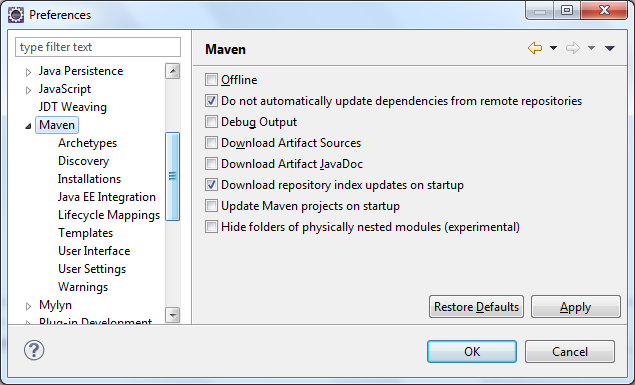
- After the IDE has restarted, we can check for the new Maven plug-in installation by clicking Window > Preferences, and see the Maven node in the Preferences dialog like this:
- In Eclipse IDE, click Help > Eclipse Marketplace… to open up the Eclipse Marketplace dialog. To search for the Maven plug-in, type m2eclipse or m2e-wtp in the Find text box and hit Enter (or switch to Popular tab), you will see Maven Integration for Eclipse WTP (Juno)in the search result as follows:
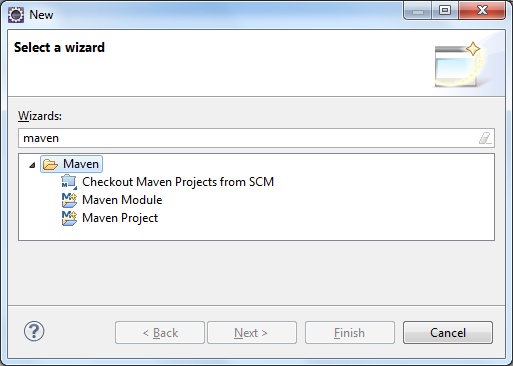
The Maven integration plug-in also provides new items in the New wizard:
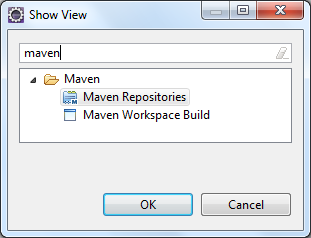
There are also new items in the Show View dialog:
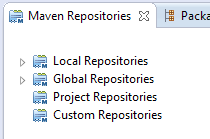
And the Maven Repositories view:
Other Eclipse Tutorials:
- How to import existing projects into Eclipse workspace
- How to use Eclipse IDE for Java EE Developers
- How to create, build and run a Java Hello World program with Eclipse
- How to create, deploy and run Java Servlet in Eclipse
- How to generate JAR file in Eclipse
- How to create WAR file for Java web application in Eclipse
- How to create Ant build file for existing Java project in Eclipse
- How to generate Javadoc in Eclipse
- How to create Java web project with Maven in Eclipse
- 25 Eclipse Shortcut Keys for Code Editing
- How to Add Copyright License Header for Java Source Files in Eclipse
About the Author:
 Nam Ha Minh is certified Java programmer (SCJP and SCWCD). He started programming with Java in the time of Java 1.4 and has been falling in love with Java since then. Make friend with him on Facebook and watch his Java videos you YouTube.
Add comment
How To Create Web Application In Eclipse Juno
Source: https://www.codejava.net/ides/eclipse/installing-maven-plugin-for-existing-eclipse-ide
Posted by: epleymisibromes.blogspot.com
0 Response to "How To Create Web Application In Eclipse Juno"
Post a Comment